|
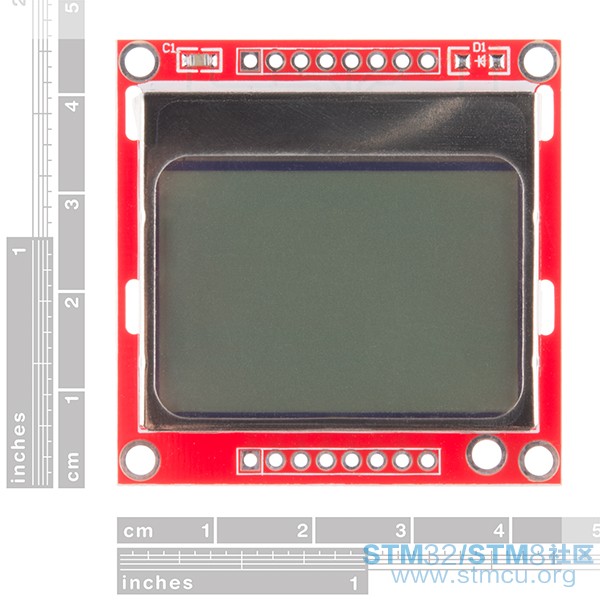
一个基础的 LCD显示测试, 原程序基于NXP LPC1768\'s SPI 接口显示点阵,字符,数字基于 Nokia 5110 ,Nokia 3310 LCD 其控制器为 PCD8544 

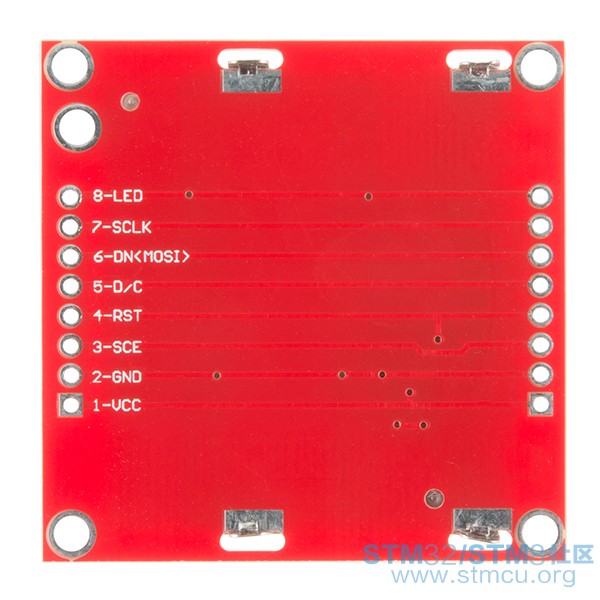
//平台nucleo 070r+mbed+Nokia5110 SPI屏幕 // /* 1. RST ——复位 2. CE —— 片选 3. DC —— 数据/指令选择 4. DIN —— 串行数据线 5. CLK —— 串行时钟线 6. VCC —— 电源输入(3.3v和5v均可,经过实验验证,没有问题) 7. BL —— 背光控制端 8. GND —— 地线 接口为串行SPI接口 */ #include "mbed.h" #include "N5110.h" // VCC,SCE,RST,D/C,MOSI,SCLK,LED N5110 lcd(D8,D9,D10,D11,D12,D13,D14); //N5110 lcd VCC,SCE,RST,D/C,MOSI,SCLK,LED: p7,p8,p9,p10,p11,p13,p21 //原程序基于xbed LPC1768 // Can also power (VCC) directly from VOUT (3.3 V) - // Can give better performance due to current limitation from GPIO pin int main() { // first need to initialise display lcd.init(); while(1) { // these are default settings so not strictly needed lcd.normalMode(); // normal colour mode lcd.setBrightness(0.5); // put LED backlight on 50% // can directly print strings at specified co-ordinates lcd.printString("Hello, World!",0,0); char buffer[14]; // each character is 6 pixels wide, screen is 84 pixels (84/6 = 14) // so can display a string of a maximum 14 characters in length // or create formatted strings - ensure they aren't more than 14 characters long int temperature = 27; int length = sprintf(buffer,"T = %2d C",temperature); // print formatted data to buffer // it is important the format specifier ensures the length will fit in the buffer if (length <= 14) // if string will fit on display lcd.printString(buffer,0,1); // display on screen float pressure = 1012.3; // same idea with floats length = sprintf(buffer,"P = %.2f mb",pressure); if (length <= 14) lcd.printString(buffer,0,2); // can also print individual characters at specified place lcd.printChar('X',5,3); // draw a line across the display at y = 40 pixels (origin top-left) for (int i = 0; i < WIDTH; i++) { lcd.setPixel(i,40); } // need to refresh display after setting pixels lcd.refresh(); // can also check status of pixels using getPixel(x,y) wait(5.0); lcd.clear(); // clear display lcd.inverseMode(); // invert colours lcd.setBrightness(1.0); // put LED backlight on full float array[84]; for (int i = 0; i < 84; i++) { array = 0.5 + 0.5*sin(i*2*3.14/84); } // can also plot graphs - 84 elements only // values must be in range 0.0 - 1.0 lcd.plotArray(array); wait(5.0); lcd.clear(); lcd.normalMode(); // normal colour mode back lcd.setBrightness(0.5); // put LED backlight on 50% // example of drawing lines for (int x = 0; x < WIDTH ; x+=10) { // x0,y0,x1,y1,type 0-white,1-black,2-dotted lcd.drawLine(0,0,x,HEIGHT,2); } lcd.refresh(); // need to refresh screen after drawing lines wait(5.0); lcd.clear(); // example of how to draw circles lcd.drawCircle(WIDTH/2,HEIGHT/2,20,1); // x,y,radius,black fill lcd.drawCircle(WIDTH/2,HEIGHT/2,10,2); // x,y,radius,white fill lcd.drawCircle(WIDTH/2,HEIGHT/2,30,0); // x,y,radius,transparent with outline lcd.refresh(); // need to refresh screen after drawing circles wait(5.0); lcd.clear(); // example of how to draw rectangles // origin x,y,width,height,type lcd.drawRect(10,10,50,30,1); // filled black rectangle lcd.drawRect(15,15,20,10,2); // filled white rectange (no outline) lcd.drawRect(2,2,70,40,0); // transparent, just outline lcd.refresh(); // need to refresh screen after drawing rects wait(5.0); lcd.clear(); } } |
 微信公众号
微信公众号
 手机版
手机版

2. CE ====>片选
3. DC ====>数据/指令选择
4. DIN ====>串行数据线
5. CLK ====>串行时钟线
6. VCC ====>电源输入(3.3v和5v均可)
7. BL ====>背光控制端
8. GND ====>地线