【前言】
虽然stm32c092rct6的flash是大尺寸,但是如果需要放置其他大容易的文件,比如文件系统等,spi_flash还是一个重要的补充,这篇文章将分享如何驱动W25Q128。
1、w25q128:

他是最大支持104MHz的时钟总线,我们的spi的时钟总线,最大是48MHz因此是可以完全可以适配的。
2、选择sp1做为输出接口,CS片选设置为PA8,在stm32cubeMX中配置如下:

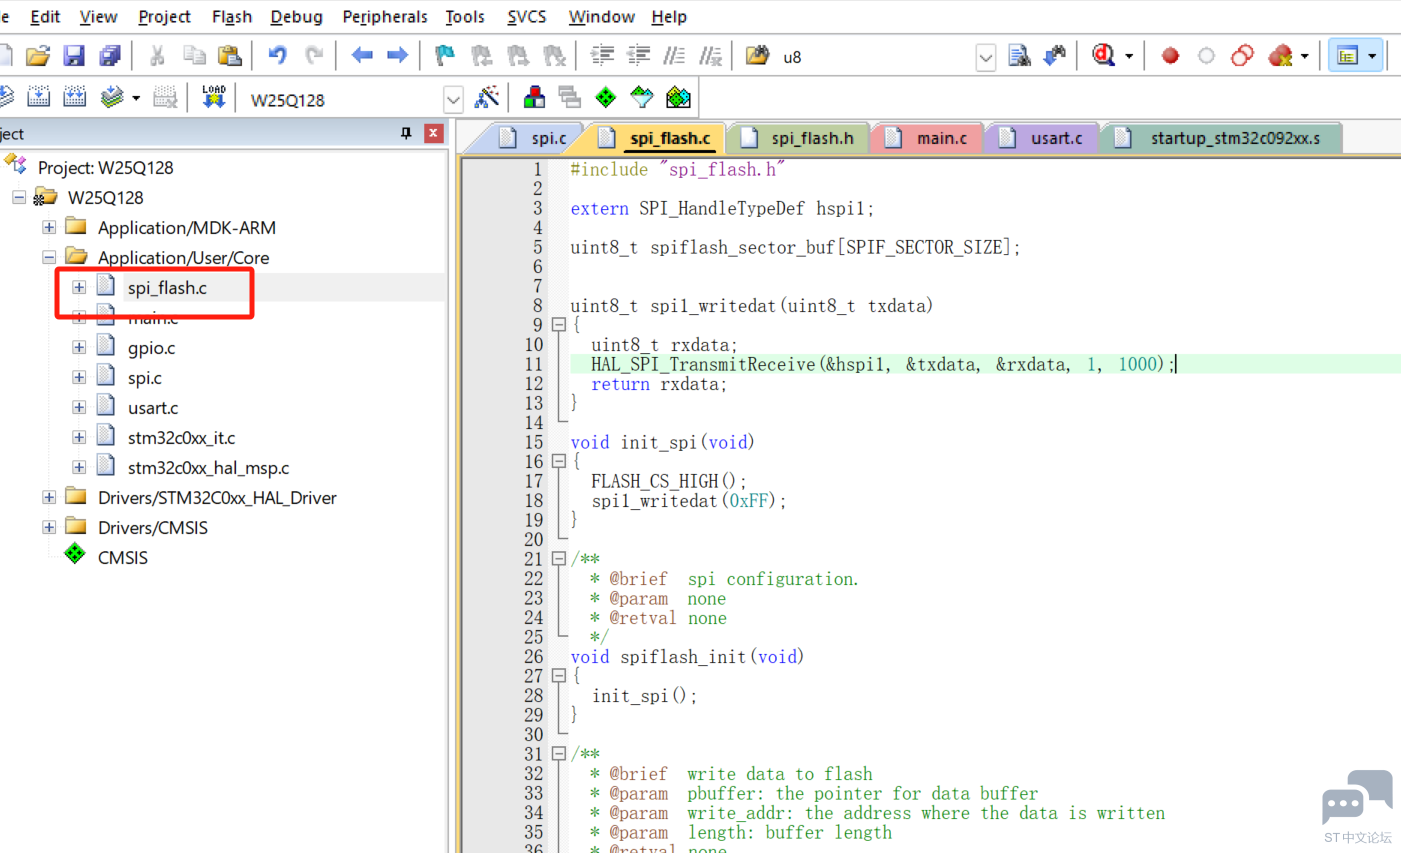
3、移植开源的spi_flash代码如下:
#include "spi_flash.h"

extern SPI_HandleTypeDef hspi1;

uint8_t spiflash_sector_buf[SPIF_SECTOR_SIZE];


uint8_t spi1_writedat(uint8_t txdata)
{
    uint8_t rxdata;
    HAL_SPI_TransmitReceive(&hspi1, &txdata, &rxdata, 1, 1000);
    return rxdata;
}

void init_spi(void)
{
    FLASH_CS_HIGH();
    spi1_writedat(0xFF);
}

/**
  * @brief  spi configuration.
  * @param  none
  * @retval none
  */
void spiflash_init(void)
{
    init_spi();
}

/**
  * @brief  write data to flash
  * @param  pbuffer: the pointer for data buffer
  * @param  write_addr: the address where the data is written
  * @param  length: buffer length
  * @retval none
  */
void spiflash_write(uint8_t *pbuffer, uint32_t write_addr, uint32_t length)
{
  uint32_t sector_pos;
  uint16_t sector_offset;
  uint16_t sector_remain;
  uint16_t index;
  uint8_t *spiflash_buf;
  spiflash_buf = spiflash_sector_buf;

  /* sector address */
  sector_pos = write_addr / SPIF_SECTOR_SIZE;

  /* address offset in a sector */
  sector_offset = write_addr % SPIF_SECTOR_SIZE;

  /* the remain in a sector */
  sector_remain = SPIF_SECTOR_SIZE - sector_offset;
  if(length <= sector_remain)
  {
    /* smaller than a sector size */
    sector_remain = length;
  }
  while(1)
  {
    /* read a sector */
    spiflash_read(spiflash_buf, sector_pos * SPIF_SECTOR_SIZE, SPIF_SECTOR_SIZE);

    /* validate the read erea */
    for(index = 0; index < sector_remain; index++)
    {
      if(spiflash_buf[sector_offset + index] != 0xFF)
      {
        /* there are some data not equal 0xff, so this secotr needs erased */
        break;
      }
    }
    if(index < sector_remain)
    {
      /* erase the sector */
      spiflash_sector_erase(sector_pos);

      /* copy the write data */
      for(index = 0; index < sector_remain; index++)
      {
        spiflash_buf[index + sector_offset] = pbuffer[index];
      }
      spiflash_write_nocheck(spiflash_buf, sector_pos * SPIF_SECTOR_SIZE, SPIF_SECTOR_SIZE); /* program the sector */
    }
    else
    {
      /* write directly in the erased area */
      spiflash_write_nocheck(pbuffer, write_addr, sector_remain);
    }
    if(length == sector_remain)
    {
      /* write end */
      break;
    }
    else
    {
      /* go on writing */
      sector_pos++;
      sector_offset = 0;

      pbuffer += sector_remain;
      write_addr += sector_remain;
      length -= sector_remain;
      if(length > SPIF_SECTOR_SIZE)
      {
        /* could not write the remain data in the next sector */
        sector_remain = SPIF_SECTOR_SIZE;
      }
      else
      {
        /* could write the remain data in the next sector */
        sector_remain = length;
      }
    }
  }
}

/**
  * @brief  read data from flash
  * @param  pbuffer: the pointer for data buffer
  * @param  read_addr: the address where the data is read
  * @param  length: buffer length
  * @retval none
  */
void spiflash_read(uint8_t *pbuffer, uint32_t read_addr, uint32_t length)
{
  FLASH_CS_LOW();
  spi_byte_write(SPIF_READDATA); /* send instruction */
  spi_byte_write((uint8_t)((read_addr) >> 16)); /* send 24-bit address */
  spi_byte_write((uint8_t)((read_addr) >> 8));
  spi_byte_write((uint8_t)read_addr);
  spi_bytes_read(pbuffer, length);
  FLASH_CS_HIGH();
}
在spi_flash.h中定义片选如下:
#define FLASH_CS_HIGH()                 HAL_GPIO_WritePin(GPIOA, GPIO_PIN_8, GPIO_PIN_SET)
#define FLASH_CS_LOW()                  HAL_GPIO_WritePin(GPIOA, GPIO_PIN_8, GPIO_PIN_RESET)
3、在主程序中添加初始化与测试代码:
  /* USER CODE BEGIN 2 */
        spiflash_init();

        flash_id_index = spiflash_read_id();
        if(flash_id_index !=0xEF17)
        {
            printf("flash id check error!\r\n");
        }
        else
        {
            printf("flash id check success! id: %x\r\n", flash_id_index);
        }
        printf("Write Data: ");
        for(i = 0; i < SPI_BUF_SIZE; i++)
        {
            tx_buffer[i] = 255-i;
            printf("%x ", tx_buffer[i]);
        }

        spiflash_sector_erase(FLASH_TEST_ADDR / SPIF_SECTOR_SIZE);
        spiflash_write(tx_buffer, FLASH_TEST_ADDR, SPI_BUF_SIZE);
        spiflash_read(rx_buffer, FLASH_TEST_ADDR, SPI_BUF_SIZE);
        printf("\r\n ");
        printf("Read Data: ");
        for(i = 0; i < SPI_BUF_SIZE; i++)
        {
            printf("%x ", rx_buffer[i]);
        }
  /* USER CODE END 2 */
实现效果,使用串口查看写入与写出:

可见初始化,写入、写出是对的。到此成功的驱动了spi的flash w25q128。


 微信公众号
微信公众号
 手机版
手机版
