本例程参考stm32fxxx-hal crate(如stm32f1xx-hal)官方例程,并在官方例程的基础上增加了一些注释,修正了一些错误。可以借鉴不同型号的 stm32 例程,毕竟固件库的核是一样的。
Press the user button on stm32f3discovery board, and you will see the voltage changing.
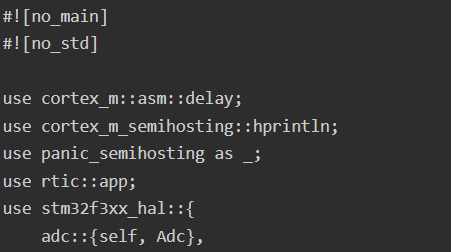
- #![no_main]
- #![no_std]
- use cortex_m::asm::delay;
- use cortex_m_semihosting::hprintln;
- use panic_semihosting as _;
- use rtic::app;
- use stm32f3xx_hal::{
- adc::{self, Adc},
- gpio::{gpioa::PA0, Analog},
- pac::{self, ADC1},
- prelude::*,
- rcc::RccExt,
- };
- #[app(device = stm32f3xx_hal::pac, peripherals = true)]
- const APP: () = {
- struct Resources {
- adc1: Adc<ADC1>,
- adc1_in1_pin: PA0<Analog>,
- }
- #[init]
- fn init(cx: init::Context) -> init::LateResources {
- let mut dp: pac::Peripherals = cx.device;
- let mut rcc = dp.RCC.constrain();
- let mut flash = dp.FLASH.constrain();
- let clocks = rcc.cfgr.freeze(&mut flash.acr);
- let adc1 = adc::Adc::adc1(
- dp.ADC1,
- &mut dp.ADC1_2,
- &mut rcc.ahb,
- adc::CkMode::default(),
- clocks,
- );
- let mut gpioa = dp.GPIOA.split(&mut rcc.ahb);
- let adc1_in1_pin = gpioa.pa0.into_analog(&mut gpioa.moder, &mut gpioa.pupdr);
- init::LateResources { adc1, adc1_in1_pin }
- }
- #[idle(resources=[adc1,adc1_in1_pin])]
- fn idle(cx: idle::Context) -> ! {
- loop {
- let adc1_in1_data: u16 = cx
- .resources
- .adc1
- .read(cx.resources.adc1_in1_pin)
- .expect("Error reading adc1.");
- hprintln!("PA0 reads {}", adc1_in1_data).unwrap();
- delay(2_000_000);
- }
- }
- };
|





.png) STMCU小助手
发布时间:2021-12-5 10:52
STMCU小助手
发布时间:2021-12-5 10:52
 微信公众号
微信公众号
 手机版
手机版