|
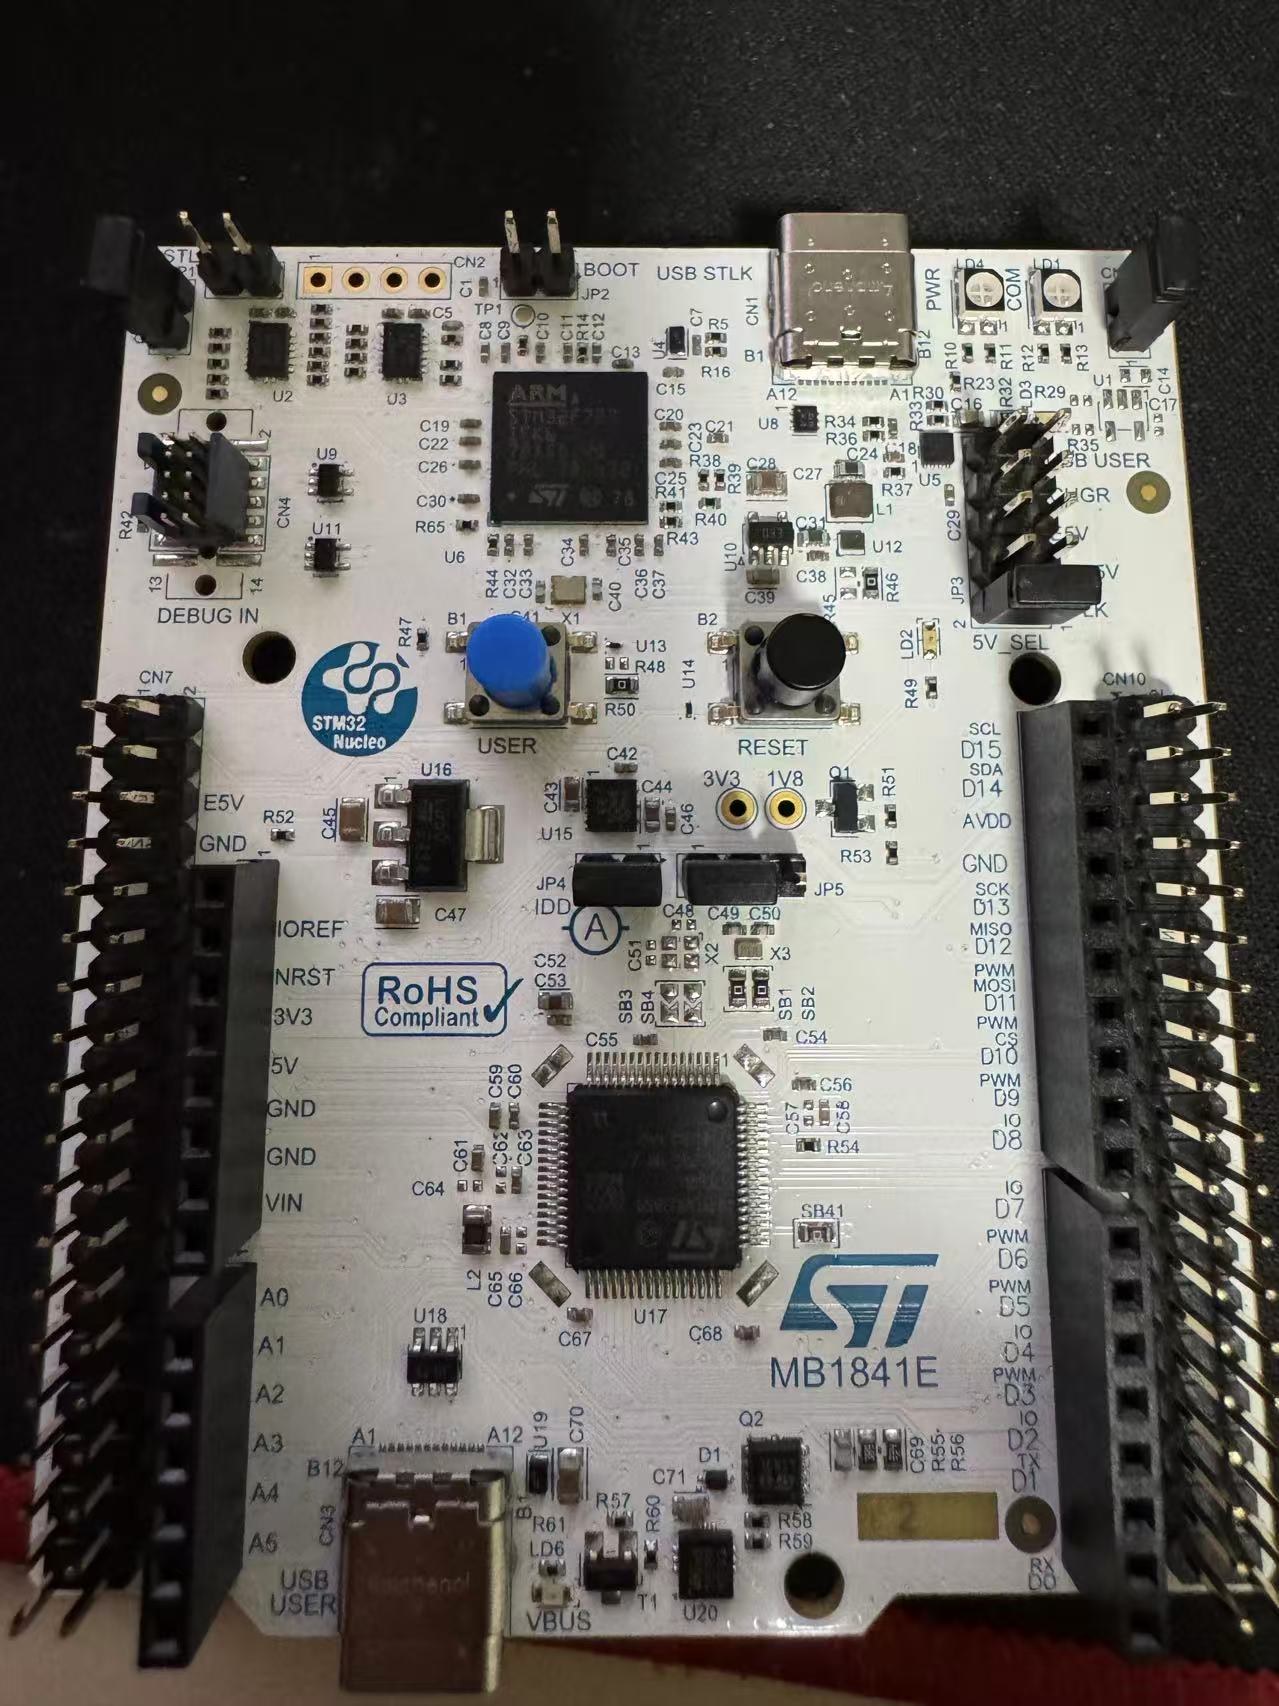
今天收到了开发板,首先体验stm32cubeMX的快速创建工程,并实现printf的打印输出。 1、打开stm32cubeMX,我使用的版本为6.14。创建一个基于stm32u385RG的基础工程:
2、查找开发板的用户手册与原理图,找到stlink与stm32u385的串口连接。在UM3063中有关于uart的记录:
通过查看开发板后面的跳线,U385的USART1通过PA9/PA10与STLINK的相连。 3、开启usart1,stm32cubmx已经自动给配置好IO为PA9/PA10。波特率也自动给到了115200。
4、工程生成配置如下,生成mdk的工程。
5、生成后,使用mdk打开工程,添加重定向的代码,由于我后期需要需要touchgfx,所以不能使用微库。代码如下: 【验证】 在man中添加测试代码,然后打开串口助手,成功输出如下:
【总结】 stm32u385由于有开源免费的stm32cube的生态支持,非常容易就上手了。 |
【stm32U3测评】FDCAN 满载性能实测
【STM32U3 评测】CAN FD测试与UDS OTA升级
【STM32U3 评测】基于 CAN 的 UDS OTA 不完全实现指南
【STM32U3评测】轻量级人脸检测部署。
【STM32U3 评测】FDCAN 性能极限与软硬件协同开发实测
【STM32U3评测】基于 HSP 的轻量级人脸检测部署
【STM32U3评测】低功耗模式功耗测量
【STM32U3评测】低功耗模式功耗测量
【stm32U3测评】使用FDCAN进行IAP升级----【1】Bootloader的实现
【STM32U3评测】CAN负载能力测试
 微信公众号
微信公众号
 手机版
手机版