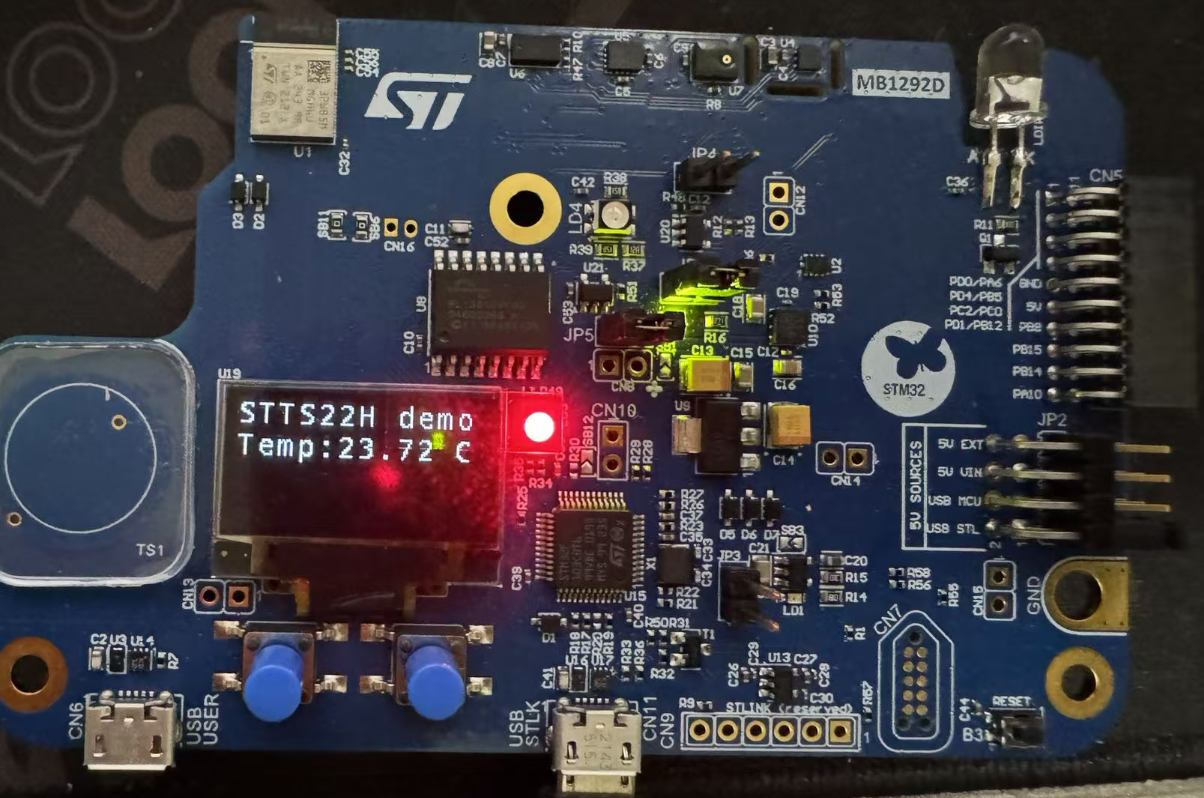
基于Zephyr Sensor下的stts22h温度计驱动
本篇介绍如何使用zephyr下的sensor获取
1. 硬件驱动
通过开发板的手册以及原理图,STM32WBA5MM_DK开发板上有多个传感器,通过I2C3总结接到了stm32wb5mm上。

通过原理图以及stm32wb5mm_dk.dts上查找,已经配置好了i2c3(PB11/PB13) 总线速度为400KHz,状态为okay;
同时Zephyr自带STTS22H驱动(drivers/sensor/st/stts22h/)
2. 设备树
在boards\stm32wb5mm_dk.overlay上告诉内核 "I2C3 总线上 0x38 地址挂了一颗 STTS22H" → 驱动在启动时自动初始化,并校验芯片的 WHO_AM_I 寄存器。
首先在overlay里挂传感器节点:
在 boards/stm32wb5mm_dk.overlay 末尾追加:
#include <zephyr/dt-bindings/sensor/stts22h.h>

&i2c3 {
	stts22h: stts22h@38 {
		compatible = "st,stts22h";
		reg = <0x38>;                  /* 7 位地址 0x38 */
		sampling-rate = <STTS22H_1Hz>; /* 1Hz 连续转换 */
	};
};
3. 配置文件prj.conf
在oled工程中添加:
# I2C 总线与传感器框架
CONFIG_I2C=y
CONFIG_SENSOR=y
CONFIG_STTS22H=y
4. 应用代码添加读温度并显示到OLED上
头部加 include 和设备指针(放在 dev 定义旁边):
#include <zephyr/drivers/sensor.h>

const struct device *const temp_dev = DEVICE_DT_GET(DT_NODELABEL(stts22h));
在 main() 里(OLED 初始化成功之后)加读取逻辑:
#include <zephyr/kernel.h>
#include <zephyr/shell/shell.h>
#include <zephyr/sys/printk.h>
#include <zephyr/sys/reboot.h>
#include <zephyr/drivers/display.h>
#include <zephyr/display/cfb.h>
#include <zephyr/drivers/sensor.h>

const struct device *dev = DEVICE_DT_GET(DT_CHOSEN(zephyr_display));
const struct device *temp_dev = DEVICE_DT_GET(DT_NODELABEL(stts22h));

static int cmd_hello(const struct shell *shell, size_t argc, char **argv)
{
    shell_print(shell, "Hello from shell demo, stm32wb5mm_dk!");
    return 0;
}

static int cmd_reboot(const struct shell *shell, size_t argc, char **argv)
{
    shell_print(shell, "Rebooting the system...");
    sys_reboot(SYS_REBOOT_COLD);
    return 0;
}

SHELL_CMD_REGISTER(hello, NULL, "Print hello message", cmd_hello);
SHELL_CMD_REGISTER(reboot, NULL, "Reboot the system", cmd_reboot);

int main(void)
{
    printk("OLED demo application started.\n");
    if (!device_is_ready(dev)) {
        printk("Display device not ready\n");
        return -ENODEV;
    }

    display_set_pixel_format(dev, PIXEL_FORMAT_MONO01);
    display_blanking_off(dev);

    if (cfb_framebuffer_init(dev)) {
        printk("cfb_framebuffer_init failed\n");
        return -EIO;
    }
    cfb_framebuffer_clear(dev, true);
    cfb_print(dev, "STTS22H demo", 0, 0);
    cfb_framebuffer_finalize(dev);
    if (!device_is_ready(temp_dev)) {
        printk("Temperature sensor device not ready\n");
        return -ENODEV;
    } else {
        struct sensor_value temp_value;
        char buf[32];
        while (1) {
            if (sensor_sample_fetch(temp_dev) < 0) {
                cfb_print(dev, "STTS22HERROR!", 0, 48);
            }
            if (sensor_channel_get(temp_dev, SENSOR_CHAN_AMBIENT_TEMP, &temp_value) < 0) {
                cfb_print(dev, "Fail read!", 0, 48);
            }
            snprintf(buf, sizeof(buf), "Temp:%d.%02d C",
                 temp_value.val1, temp_value.val2 / 10000);
            cfb_framebuffer_clear(dev, true);
            cfb_print(dev, "STTS22H demo", 0, 0);
            cfb_print(dev, buf, 0, 16);
            cfb_framebuffer_finalize(dev);
            k_sleep(K_SECONDS(1));
        }
    }

    return 0;
}
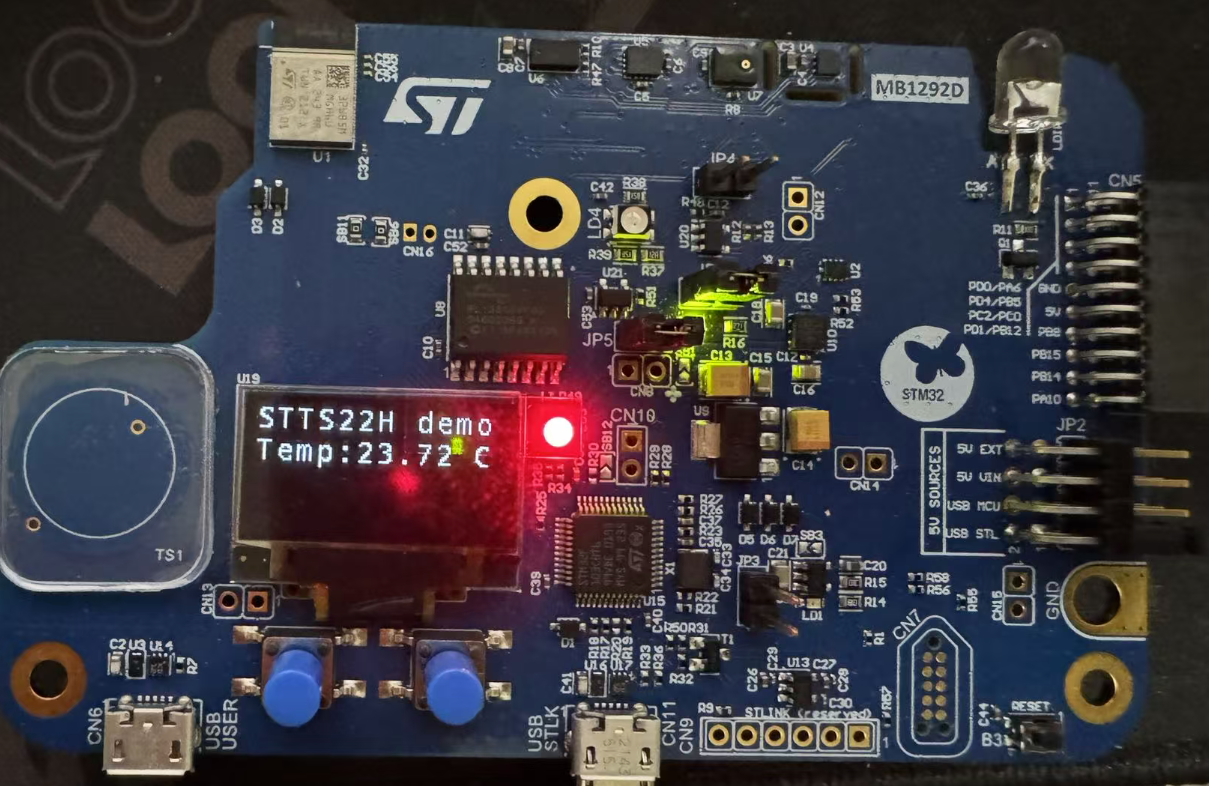
5. 实现效果





 微信公众号
 手机版