|
一、生成代码 在TouchGFX Designer按F4可以生成代码
从代码目录中可以看出,生成的目录已经直接支持多个常用平台,如:IAR,Keil,stm32cubeide等。我用的是stm32cubeide。 为方便以下讲解先把需要的源码位置先标示出来
二、照葫芦画瓢,自建example 重建一个基于STM32H745I-DISCO空白工程,按照example,布局按键和显示,各控件的命名与原来一直。只做了些微调和增加一个复位按钮。
设置按键单击事件
生成代码后,会在MainViewBase.hpp中建一个MainViewBase类,类中定义了按键的虚函数(上图:Action中设置)。
在MainViewBase.cpp中设置了回调
具体实现: 首先在MainView.hpp中创建MainView类,继承自MainViewBase类
然后在MainView.cpp中编写各按键具体操作函数和刷新显示函数 |


【 逢7发帖赢大礼】7、TouchGFX中实现云彩流动效果
【 逢7发帖赢大礼】6、TouchGFX中添加图像素材和自定义代码编辑
【 逢7发帖赢大礼】5、TouchGFX 创建自定义界面和交互
【 逢7发帖赢大礼】4、CubeMX工程复用以及TouchGFX应用
【 逢7发帖赢大礼】3、利用CubeMX添加TouchGFX功能:工程修改和编译烧录
【 逢7发帖赢大礼】2、利用CubeMX添加TouchGFX功能:CubeMX配置
【 逢7发帖赢大礼】1、利用CubeMX生成正点原子H7R7开发板的STM32CubeIDE工程
CubeMX生成CubeIDE工程代码乱码
经验分享 | 基于STM32H7不同MPU配置的拷贝性能比较
【STM32U3 评测】CAN基本通讯测试
 微信公众号
微信公众号
 手机版
手机版


在把钩打上,就会在MainViewBase.hpp的MainViewBase类内,建立一个buffer。
```
/*
* Wildcard Buffers
*/
static const uint16_t COUNTTXT_SIZE = 3;
touchgfx::Unicode::UnicodeChar countTxtBuffer[COUNTTXT_SIZE];
```
在MainView.cpp的刷新显示函数里,往这个buffer里填入count值就行了
```
void MainView::updateGFXElements()
{
//Counter text area GFX uptade.
Unicode::snprintf(countTxtBuffer, 3, "%d", count);
//Button GFX update and touchable.
```
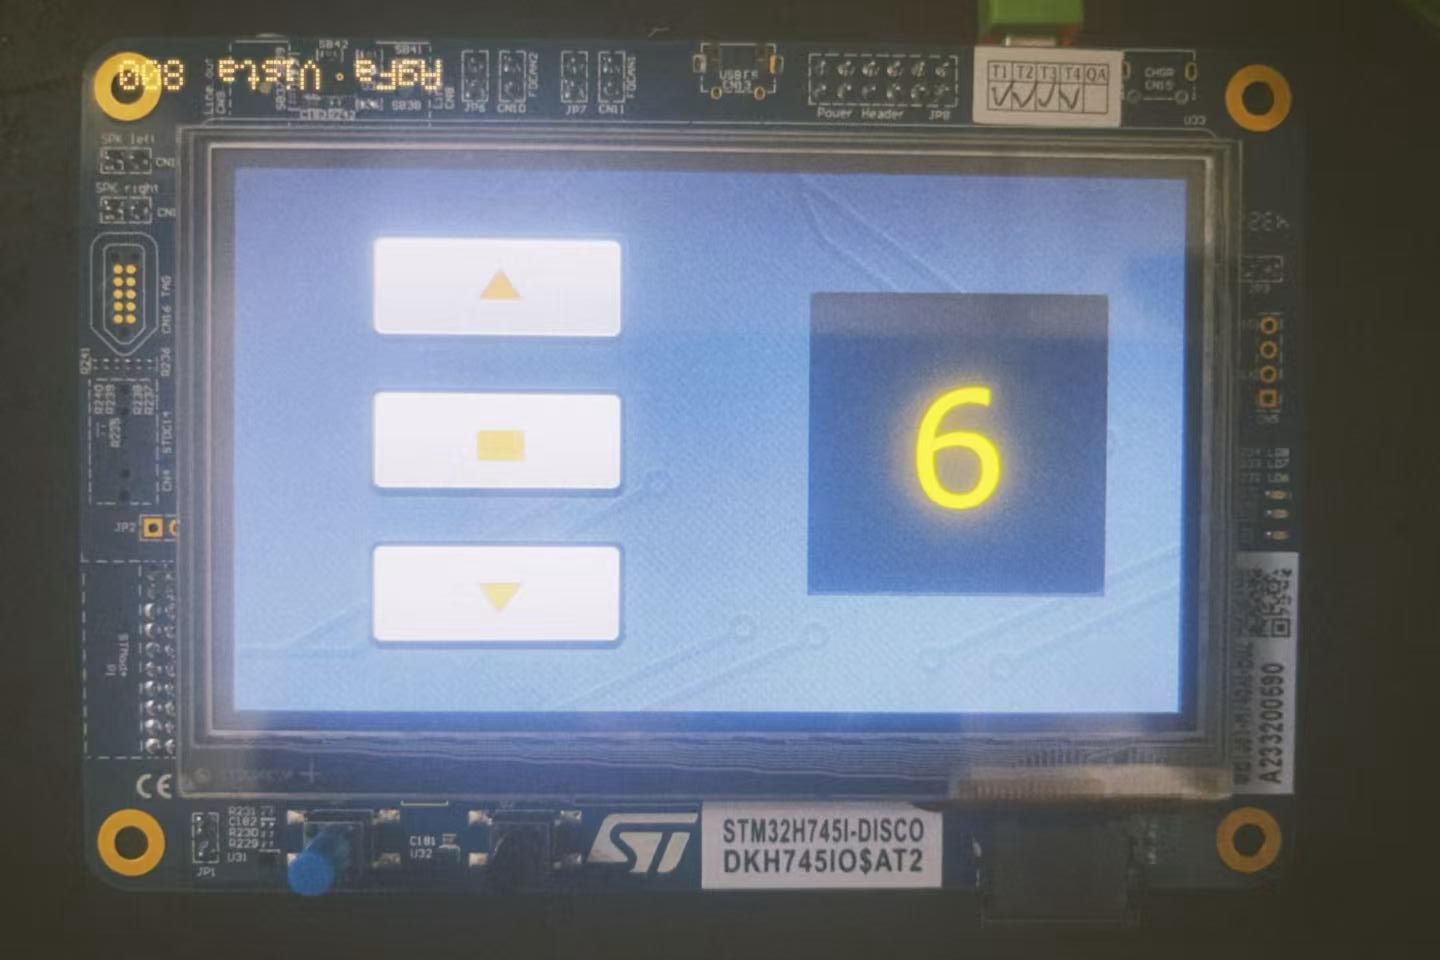
三、效果