|
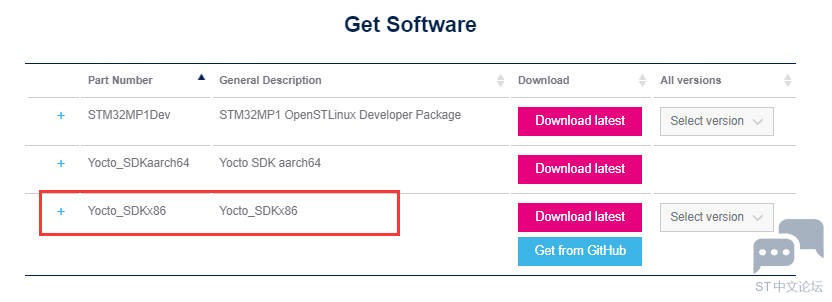
学习搭建STM32MP135F-DK开发板交叉编译环境。 一、安装软件包 1.1、root@ubuntu:~# sudo apt-get update 1.2、root@ubuntu:~# sudo apt-get install gawk wget git diffstat unzip texinfo gcc-multilib chrpath socat cpio python3 python3-pip python3-pexpect 1.3、root@ubuntu:~# sudo apt-get install libssl-dev libgmp-dev libmpc-dev lz4 zstd 1.4、root@ubuntu:~# sudo apt-get install build-essential libncurses-dev libyaml-dev libssl-dev 1.5、root@ubuntu:~# sudo apt-get install coreutils bsdmainutils sed curl bc lrzsz corkscrew cvs subversion mercurial nfs-common nfs-kernel-server libarchive-zip-perl dos2unix texi2html libxml2-utils 二、下载SDK 官网下载地址:https://www.st.com/en/embedded-software/stm32mp1dev.html 
三、安装SDK 3.1、复制SDK到ubuntu系统,并解压 
3.2、安装 
3.3、设置环境 root@ubuntu:~# source /opt/st/stm32mp1/4.2.1-openstlinux-6.1-yocto-mickledore-mp1-v23.06.21/environment-setup-cortexa7t2hf-neon-vfpv4-ostl-linux-gnueabi 3.4、测试编译环境 
四、编译应用程序 4.1、hello.c
4.2、编译程序 
4.3、复制文件到开发板 
五、测试 在开发板上测试hello 
|
|
可以分享个例程 |
直播回顾+QA | STM32MP135在工业组态HMI和工业网关中的应用实践
STM32MP135 MP157 MP257 CoreMark移植&&跑分对比&&多核心负载不均衡问题排查与解决
有奖直播 | STM32MP135在工业组态HMI和工业网关中的应用实践
拷打cubemx【001】——艰难的选型路
linux eclipse编译后自动更新程序
eclipse编写stm32mp135配置
eclipse编写stm32mp135程序
STM32MP135F-DK 开箱测试
openSTlinux系统搭建过程分享
《STM32MPU安全启动》学习笔记之uboot如何校验kernel和如何使能校验
 微信公众号
微信公众号
 手机版
手机版
