【前言】
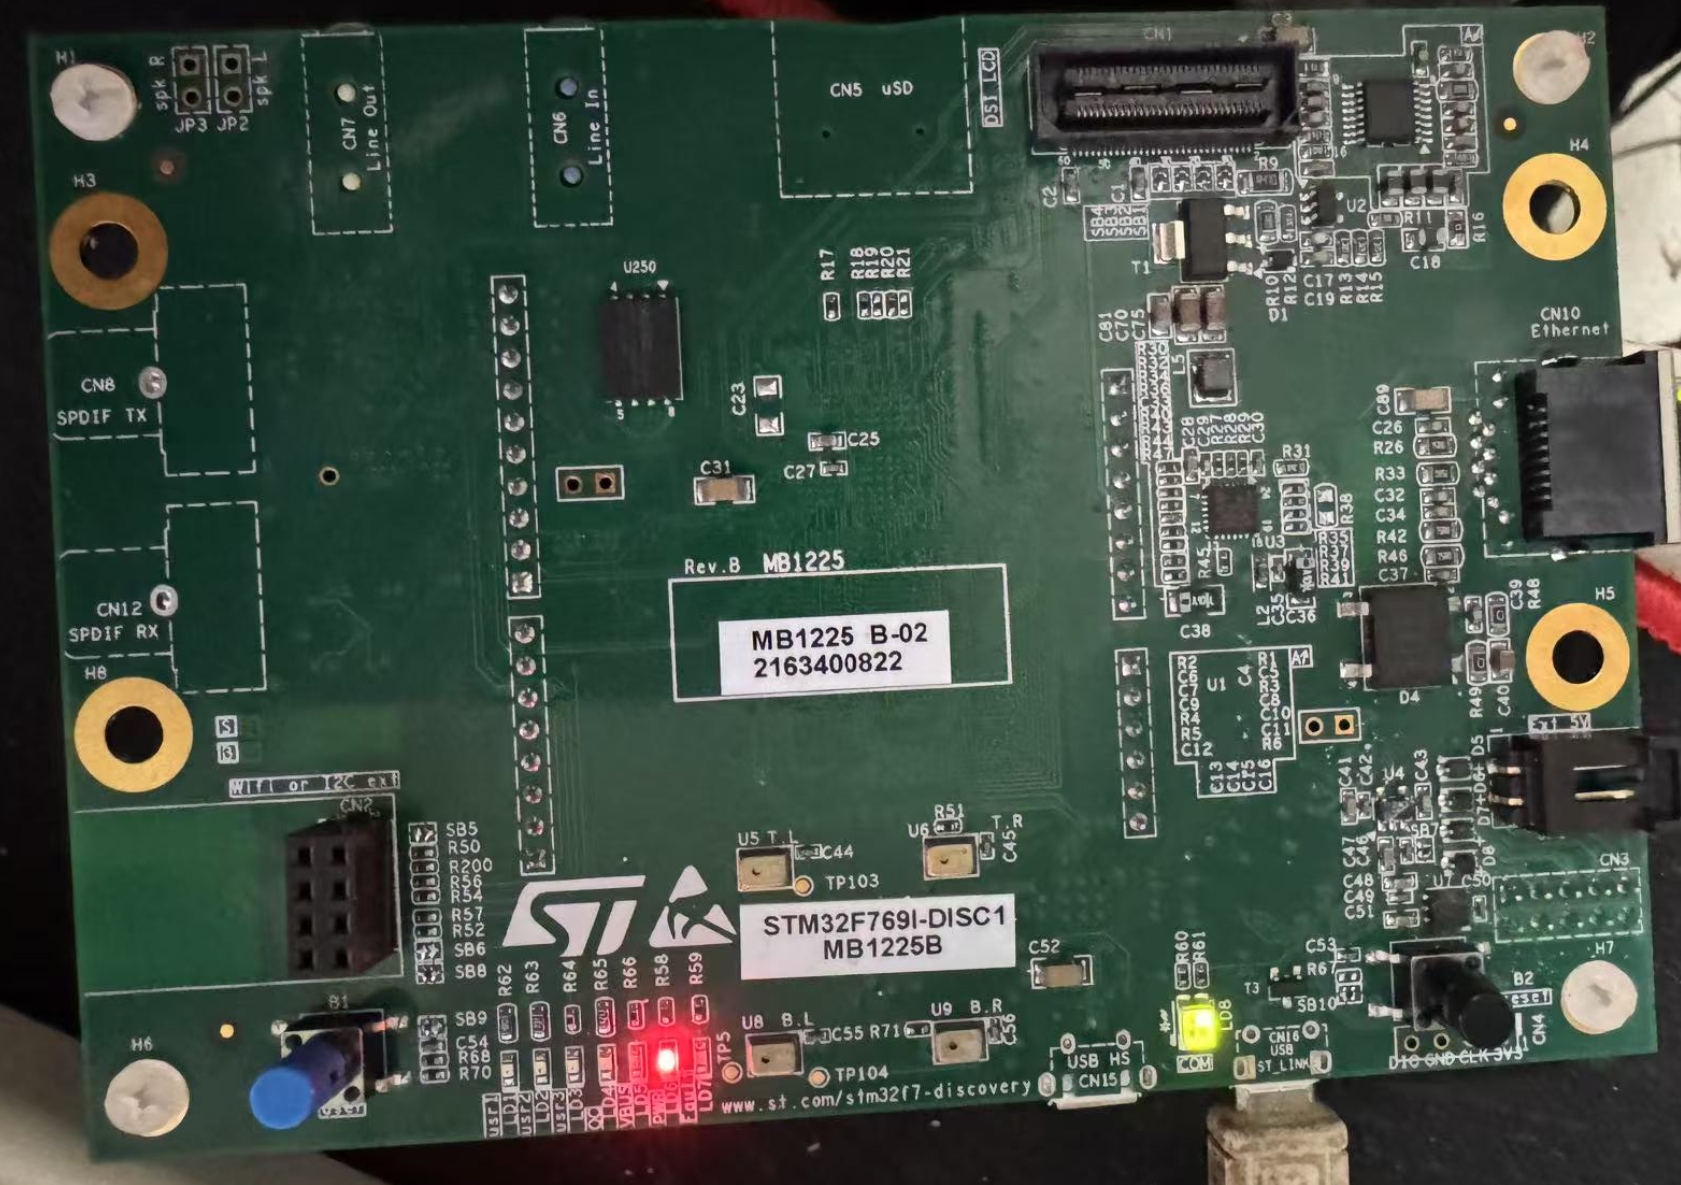
前段时间参与加论坛的【GUI Demo】活动,有幸的得到了STM32F769I-DISC1开发板。收到开发板后,才发现没有给适配屏幕。由于开发板的接口是DSI接口的屏幕,手上只有STM32U599的屏的接口可以,但是屏与开发板的上REST键有冲突,键比较高,唯一能对上的屏也用不了。所以以能先把屏放一边,先把网络给对接上。
【项目规划】
我申请的项目是使用RTT连上deepseek服务器,进行AI对话。到RTT官网上查看了一下,STM32F769DISC是还没有适配的。所以先使用FreeRTOS进行LWIP适配,然后通过TCP与服务器进行交互。现在先做规划如下:
1、移植shell工具,由于先不使用RTT,所以需要先移植一个shell进行交互。
2、移植freeRTOS,只有在RTOS的支持下,才能更好的协调开发板做更多的事。
3、移植LWIP,通过LWIP才能与服务器进行交互。
4、创建TCP—CLIENT测试与服务器的交互。
5、配置本地的deepseek服务。使用网页提交与开发板建立通信。
6、适配屏幕用于交互结果的展示。、
整个荐
【项目搭建软件配置】
1、STM32CubeMX,用于基础CMake工程的创建。
2、Vscode,用于代码的编写,下载、调试。
3、用于支持工程的各种vscode插件,主要有CMakeTOOLS、STM32 VS Code Extension等。
【移植过程】
一、使用stm32CubeMX创建基础工程,选择STM32F768nihxMCU,开启USART1、LED等基础外设,同时配置FreeRTOS,使用TIM6作为SYS的心跳定时器。
创建好后,选择为Cmake工程。
二、使用vscode打开工程,由CmakeLists.txt自动配置好工程,并且使用USART1在串口输出字符。
三、移植nr_micro_shell,nr_micro_shell是一款开源的shell工具,占用内存与闪存小,容量移植。
1、首先下载源码https://gitee.com/nrush/nr_micro_shell
2、把源代码添加进工程的ThirdPart目录下面,编写分块的CmakeLists.txt。将src下所有的.c都添加进工程,同时把inc文件目录添加进工程中。
3、修改nr_micro_shell_conf.h中的参数,我使用MobXterm工具进行交互,所以回车选择为1,即\r。
/*
0: \n
1: \r
2: \r\n
*/
#define NR_SHELL_END_OF_LINE 1
4、修改shell_printf代码如下:
/* If you use RTOS, you may need to do some special processing for printf(). */
#define shell_printf(fmt, args...) printf(fmt, ##args); \
                                                         \
    fflush(stdout);
#define ansi_show_char(x) putchar(x); \
                                       \
    fflush(stdout);

#endif
5、在usart.c中引入stdio.h,添加串口重定向代码:
/* USER CODE BEGIN 1 */
#define CMD_BUFFER_SIZE 128

#ifdef __GNUC__
int _write(int fd, char *ptr, int len)
{
  HAL_UART_Transmit(&huart1, (uint8_t *)ptr, len, 0xFFFF);
  return len;
}

#endif
/* USER CODE END 1 */
通过printf来测试一下,是否能正常输出。
6、创建用户代码来对接shell,usart_shell.c,主要是添加中断接收函数,实现对串口数据的接收,同时创建几个shell cmd,比如LED灯的控制等,代码如下:
/******************************************************************************
 * Include files
 ******************************************************************************/
#include "shell_uart.h"
#include <stdio.h>

static uint8_t  uart_recv_buff[4];

shell_uart_buffer_t  g_shell_uart=
{
    .tx.read_i = 0,
    .tx.write_i = 0,

    .rx.read_i = 0,
    .rx.write_i = 0,

    .tx_cpl = 0,
};


//////////////////////////////////////////////////////////////////////////////
void HAL_UART_RxCpltCallback(UART_HandleTypeDef *huart)
{
    if(huart->Instance == USART1)   //shell
    {
        if(((g_shell_uart.rx.write_i+1)&0x1ff) != g_shell_uart.rx.read_i)
        {
            g_shell_uart.rx.buff[g_shell_uart.rx.write_i++] = uart_recv_buff[0] & 0xff;
            g_shell_uart.rx.write_i &= 0x1ff;//256Byte
        }
        HAL_UART_Receive_IT(huart,uart_recv_buff,1);//
    }
}


//
void HAL_UART_ErrorCallback(UART_HandleTypeDef *huart)
{
    if(huart->Instance == USART1)   //shell
    {
        HAL_UART_Receive_IT(huart,uart_recv_buff,1);//
    }
}


void shell_usart_init(void)
{
#ifdef UART_SHELL
#if UART_SHELL == 1
    userShellInit(); //LETTER_SHELL
#elif UART_SHELL == 2
    shell_init();   //NR_MICRO_SHELL
#endif
#endif
    HAL_UART_Receive_IT(&huart1,uart_recv_buff,1);//
}

#include "string.h"
#include "ctype.h"

static void list_cmd(void)
{
    unsigned int i = 0;
    for (i = 0; nr_shell.static_cmd[i].fp != NULL; i++)
    {
        shell_printf("%s\t\t", nr_shell.static_cmd[i].cmd);
        if (nr_shell.static_cmd[i].description != NULL)
            shell_printf("\"%s\"\t\t", nr_shell.static_cmd[i].description);
        shell_printf("\r\n");
    }
}
/**
 * @brief ls command
 */
void shell_ls_cmd(char argc, char *argv)
{
    if (argc > 1)
    {
        if (!strcmp("cmd", &argv[argv[1]]))
        {
            list_cmd();
        }
        else if (!strcmp("-v", &argv[argv[1]]))
        {
            shell_printf("ls version 1.0.\r\n");
        }
        else // if (!strcmp("-h", &argv[argv[1]]))
        {
            goto exit_lable;
        }
        return;
    }
    shell_printf("ls need more arguments!\r\n\r\n");

exit_lable:
    shell_printf("useage: ls [options]\r\n");
    shell_printf("options: \r\n");
    shell_printf("\t -h \t: show help\r\n");
    shell_printf("\t -v \t: show version\r\n");
    shell_printf("\t cmd \t: show all commands\r\n");
}

void shell_help_cmd(char argc, char *argv)
{
    list_cmd();
}

/**
 * @brief test command
 */
void shell_test_cmd(char argc, char *argv)
{
    unsigned int i;
    shell_printf("test command:\r\n");
    for (i = 0; i < argc; i++)
    {
        shell_printf("paras %d: %s\r\n", i, &(argv[argv[i]]));
    }
}

/* LED shell LED*/

void shell_led_cmd(char argc, char *argv)
{
    if(argc ==  2)
    {
        if(!strcmp("LED", &argv[argv[0]]) )
        {
            if(!strcmp("on", &argv[argv[1]]))
            {
                HAL_GPIO_WritePin(LD1_GPIO_Port, LD1_Pin, GPIO_PIN_SET);
                shell_printf("LED on\r\n");
            }
            else if(!strcmp("off", &argv[argv[1]]))
            {
                HAL_GPIO_WritePin(LD1_GPIO_Port, LD1_Pin, GPIO_PIN_RESET);
                shell_printf("LED off\r\n");
            }
            else
            {
                shell_printf("ERRO CMD:led %s\r\n", &argv[1]);
            }
        }
        else
        {
            shell_printf("ERRO CMD:led %s\r\n", &argv[0]);
        }
    }
}
#ifdef NR_SHELL_USING_EXPORT_CMD
NR_SHELL_CMD_EXPORT(help, shell_help_cmd, "help");
NR_SHELL_CMD_EXPORT(ls, shell_ls_cmd, "list cmd");
NR_SHELL_CMD_EXPORT(test, shell_test_cmd, "test cmd");

#else
const static_cmd_st static_cmd[] =
    {
        {"help", shell_help_cmd, "list cmd"},
        {"ls", shell_ls_cmd, "list cmd"},
        {"test", shell_test_cmd, "test cmd"},
        {"LED", shell_led_cmd, "LED on/off"},
        {"\0", NULL}
    };

#endif
void shell_usart_loop(void)
{
    if(g_shell_uart.rx.read_i != g_shell_uart.rx.write_i)
    {
        shell(g_shell_uart.rx.buff[g_shell_uart.rx.read_i++]);
        g_shell_uart.rx.read_i &= 0x1ff; //256Byte
    }

}
在主程中使用shell_usart_init();启动shell,并在任务中使用shell_usart_loop();为周期调用shell。
下载到开发板后,可以实现与开发的交互:
▒
nr@root:
nr@root:
nr@root:ls
ls need more arguments!

useage: ls [options]
options:
         -h     : show help
         -v     : show version
         cmd    : show all commands
nr@root:LED on
LED on
nr@root:
四、移植Lwip
STM32F769板载了网络接口,这就可以实现联网。由于没有基于stm32cubeMX的示例,我通过配置ETH以及LWIP但是没有成功的获取IP,所以手工进行移植。
【前期准备】
1、在官方的示例中,有基于MDK的联网示例,我是基于vscode的工程,所以只能做为学习的示例。
2、在github上面找到了一个基于stm32cubIDE的联网工程,能联上网,但是他是基于mqtt还有http的,他的工程是基于LCD的,所以我也只能拿过来学习。
3、然后我还使用stm32cubeMX配置了FreeRTOS。
在这样的前提下,我进行如下的方法,成功的实现了LWIP联网。
【源码的移植】
1、我将STM32CubeIDE的工程中的lwip源码,复制到我工程目录ThirdPart下面

2、然后根据Filielists.mk编把工程中的文件夹以及.c添加进CMakeLists.txt中。

最后添加好后文件如下:
add_library(ThirdPart INTERFACE)

target_include_directories(ThirdPart INTERFACE
    ./nr_micro_shell/inc

    ./lwip/src/include
    ./lwip/src/include/lwip
    ./lwip/src/include/lwip/apps
    ./lwip/src/include/lwip/priv
    ./lwip/src/include/lwip/prot
    ./lwip/src/include/netif
    ./lwip/src/include/posix
    ./lwip/src/include/posix/sys
    ./lwip/system
    ./lwip/LwIP/system
    ./lwip/src/include/netif/ppp

)

target_sources(ThirdPart INTERFACE
    ./nr_micro_shell/src/ansi_port.c
    ./nr_micro_shell/src/nr_micro_shell.c
    ./nr_micro_shell/src/ansi.c

    ./lwip/src/core/init.c
    ./lwip/src/core/def.c
    ./lwip/src/core/dns.c
    ./lwip/src/core/inet_chksum.c
    ./lwip/src/core/ip.c
    ./lwip/src/core/mem.c
    ./lwip/src/core/memp.c
    ./lwip/src/core/netif.c
    ./lwip/src/core/pbuf.c
    ./lwip/src/core/raw.c
    ./lwip/src/core/stats.c
    ./lwip/src/core/sys.c
    ./lwip/src/core/tcp.c
    ./lwip/src/core/tcp_in.c
    ./lwip/src/core/tcp_out.c
    ./lwip/src/core/timeouts.c
    ./lwip/src/core/udp.c
    ./lwip/src/core/ipv4/autoip.c
    ./lwip/src/core/ipv4/dhcp.c
    ./lwip/src/core/ipv4/etharp.c
    ./lwip/src/core/ipv4/icmp.c
    ./lwip/src/core/ipv4/igmp.c
    ./lwip/src/core/ipv4/ip4_frag.c
    ./lwip/src/core/ipv4/ip4.c
    ./lwip/src/core/ipv4/ip4_addr.c
    ./lwip/src/api/api_lib.c
    ./lwip/src/api/api_msg.c
    ./lwip/src/api/err.c
    ./lwip/src/api/netbuf.c
    ./lwip/src/api/netdb.c
    ./lwip/src/api/netifapi.c
    ./lwip/src/api/sockets.c
    ./lwip/src/api/tcpip.c
    ./lwip/src/netif/ethernet.c
    ./lwip/src/netif/slipif.c
    ./lwip/src/netif/ppp/auth.c
    ./lwip/src/netif/ppp/ccp.c
    ./lwip/src/netif/ppp/chap-md5.c
    ./lwip/src/netif/ppp/chap_ms.c
    ./lwip/src/netif/ppp/chap-new.c
    ./lwip/src/netif/ppp/demand.c
    ./lwip/src/netif/ppp/eap.c
    ./lwip/src/netif/ppp/ecp.c
    ./lwip/src/netif/ppp/eui64.c
    ./lwip/src/netif/ppp/fsm.c
    ./lwip/src/netif/ppp/ipcp.c
    ./lwip/src/netif/ppp/ipv6cp.c
    ./lwip/src/netif/ppp/lcp.c
    ./lwip/src/netif/ppp/magic.c
    ./lwip/src/netif/ppp/mppe.c
    ./lwip/src/netif/ppp/multilink.c
    ./lwip/src/netif/ppp/ppp.c
    ./lwip/src/netif/ppp/pppapi.c
    ./lwip/src/netif/ppp/pppcrypt.c
    ./lwip/src/netif/ppp/pppoe.c
    ./lwip/src/netif/ppp/pppol2tp.c
    ./lwip/src/netif/ppp/pppos.c
    ./lwip/src/netif/ppp/upap.c
    ./lwip/src/netif/ppp/utils.c
    ./lwip/src/netif/ppp/vj.c
    ./lwip/src/netif/ppp/polarssl/arc4.c
    ./lwip/src/netif/ppp/polarssl/des.c
    ./lwip/src/netif/ppp/polarssl/md4.c
    ./lwip/src/netif/ppp/polarssl/md5.c
    ./lwip/src/netif/ppp/polarssl/sha1.c

    ./lwip/src/apps/snmp/snmp_asn1.c
    ./lwip/src/apps/snmp/snmp_core.c
    ./lwip/src/apps/snmp/snmp_mib2.c
    ./lwip/src/apps/snmp/snmp_mib2_icmp.c
    ./lwip/src/apps/snmp/snmp_mib2_interfaces.c
    ./lwip/src/apps/snmp/snmp_mib2_ip.c
    ./lwip/src/apps/snmp/snmp_mib2_snmp.c
    ./lwip/src/apps/snmp/snmp_mib2_system.c
    ./lwip/src/apps/snmp/snmp_mib2_tcp.c
    ./lwip/src/apps/snmp/snmp_mib2_udp.c
    ./lwip/src/apps/snmp/snmp_msg.c
    ./lwip/src/apps/snmp/snmpv3.c
    ./lwip/src/apps/snmp/snmp_netconn.c
    ./lwip/src/apps/snmp/snmp_pbuf_stream.c
    ./lwip/src/apps/snmp/snmp_raw.c
    ./lwip/src/apps/snmp/snmp_scalar.c
    ./lwip/src/apps/snmp/snmp_table.c
    ./lwip/src/apps/snmp/snmp_threadsync.c
    ./lwip/src/apps/snmp/snmp_traps.c
    ./lwip/src/apps/snmp/snmpv3_mbedtls.c
    ./lwip/src/apps/snmp/snmpv3_dummy.c
    # ./lwip/src/apps/httpd/fs.c
    # ./lwip/src/apps/httpd/httpd.c
    ./lwip/src/apps/sntp/sntp.c

    ./lwip/src/apps/netbiosns/netbiosns.c
    ./lwip/src/apps/tftp/tftp_server.c
    ./lwip/src/apps/mqtt/mqtt.c
    ./lwip/system/OS/sys_arch.c
)

# target_link_directories(ThirdPart INTERFACE
# )

# target_link_libraries(ThirdPart INTERFACE
# )
2、复制示例中的ethernetif.c/h、app_ethernet.c到工程中。
3、在stm32f7xx_it.c中添加中断回调函数:
/* USER CODE BEGIN 1 */
void ETH_IRQHandler(void)
{
  HAL_ETH_IRQHandler(&EthHandle);
}
/* USER CODE END 1 */


 微信公众号
微信公众号
 手机版
手机版


【由于最长只支持这么多字,所以另起】
4、由于是手工添加ETH的驱动,所以需要在stm32f7xx_hal_conf.h中打开ETH的配置
同时添加网络参数:
5、在main.h中添加用户IP地址的配置参数,主要是配置是否启用DHPCP,配置静态IP的地址、DNS、网关参数:
编写一个tcp_client.c/h,来测试与tcp_server的通信。
6、在freertos任务中,调用lwip初始,等待网卡连接以及动态获取到IP然后连接tcp_server。
【测试效果】
下载到开发板后,在电脑端创建一个TCP_SERVER,然后打shell,从server发送数据,就可以在shell中打印出tcp接收到的数据了。
到此,移植Lwip就完成了。也成功的实现了数据的交互。